How to Download Kali Linux for VirtualBox

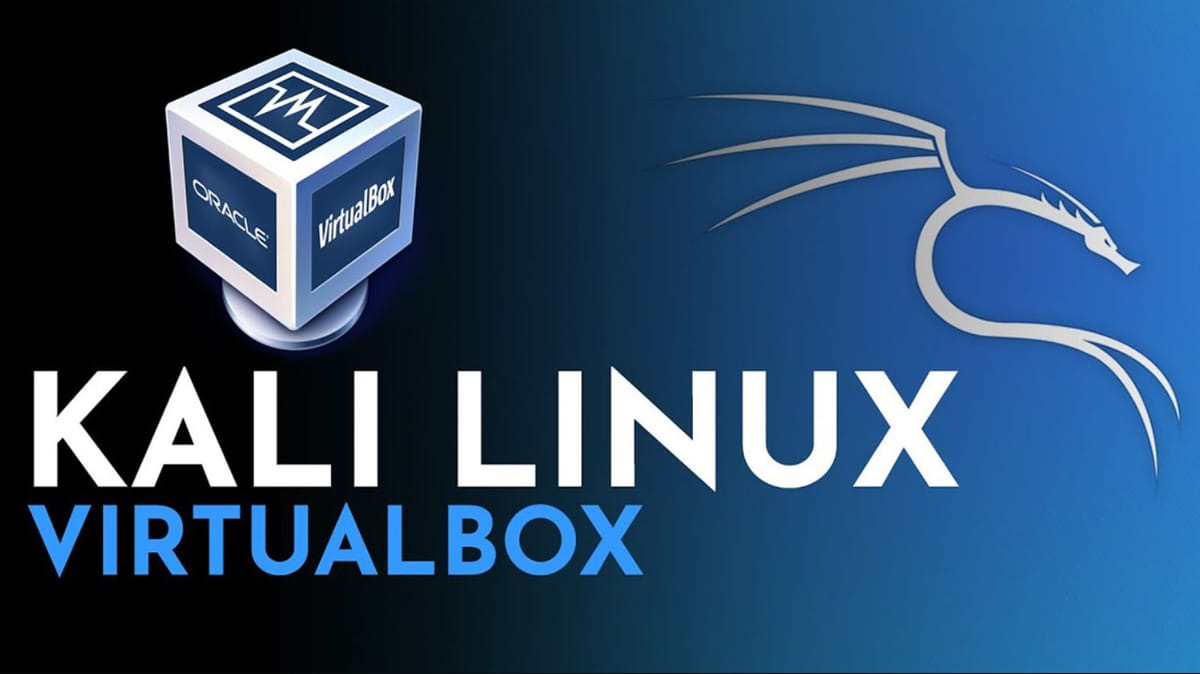
Kali Linux is one of the most powerful and widely used Linux distributions for penetration testing and ethical hacking. Whether you're a beginner or a cybersecurity expert, learning how to download Kali Linux for VirtualBox is the first step toward building a secure, portable, and customizable pentesting environment. In this comprehensive guide, you'll learn every step you need to take, from downloading VirtualBox to configuring and running Kali Linux smoothly.
Why Choose Kali Linux in VirtualBox?
Running Kali Linux inside VirtualBox provides a secure, isolated environment ideal for testing and experimentation. It eliminates the risks associated with dual-booting or running Kali as your main OS. Plus, it's portable—you can move your virtual machine (VM) across devices.
Using VirtualBox also allows you to take snapshots, roll back changes, and avoid corrupting your host system if something goes wrong. All of this makes the decision to learn how to download Kali Linux for VirtualBox a smart and safe choice.
What You Need Before You Begin
Before diving into the steps, here’s what you need:
- A working computer (Windows, macOS, or Linux)
- Minimum 4 GB RAM (8 GB recommended)
- Minimum 20 GB of free disk space
- VirtualBox installed
- Kali Linux ISO or prebuilt VM
Optional but recommended:
- Internet connection
- Knowledge of basic Linux commands
Download VirtualBox for Your Operating System
Visit https://www.virtualbox.org and navigate to the Downloads section. Choose the appropriate version for your host OS:
- Windows hosts
- macOS hosts
- Linux distributions
- Solaris hosts (rarely used)
Make sure to download the latest stable release.
Install VirtualBox on Your System
Once downloaded:
- Windows: Double-click
.exeand follow the installation wizard. - macOS: Open the
.dmgfile and drag VirtualBox to Applications.
Linux: Use terminal:
sudo apt install virtualbox
During installation, accept default settings and confirm any system changes requested.
How to Download Kali Linux for VirtualBox
Now to the core of the process. You can either download the ISO file or a pre-configured VirtualBox image.
Option 1: Download Kali Linux ISO
Go to https://www.kali.org/get-kali/. Under the "Bare Metal" section, choose your architecture (usually 64-bit) and download the ISO file.
Option 2: Download Prebuilt VirtualBox Image
Kali Linux offers VirtualBox-ready images that are easier to use:
- Go to https://www.kali.org/get-kali/#kali-virtual-machines
- Download the
.ovafile (VirtualBox Appliance)
Using the .ova is faster and skips manual installation.
How to Import Kali Linux into VirtualBox
Using OVA File
- Open VirtualBox
- Click File > Import Appliance
- Choose the
.ovafile - Click Next > Import
VirtualBox will set up everything automatically.
Using ISO File
- Create a New VM:
- Name: Kali Linux
- Type: Linux
- Version: Debian (64-bit)
- Allocate:
- RAM: at least 2048 MB
- Disk: Create a virtual disk of 20 GB+
- Mount the ISO:
- Go to Settings > Storage
- Under Controller: IDE, click empty CD icon
- Choose a disk file and select the ISO
- Start VM and follow Kali installation instructions.
Configure Kali Linux VM for Best Performance
Set the following in VM settings:
- Processors: At least 2 cores
- Video Memory: Max it out to 128 MB
- Enable EFI: If needed
- Enable 3D Acceleration: Optional
Set Kali Linux Network Mode in VirtualBox
- NAT (default): Basic internet access
- Bridged Adapter: Same network as host
- Host-only Adapter: Isolated network (ideal for labs)
Choose based on your goals.
Enable Virtualization in BIOS/UEFI
If you get errors related to virtualization, reboot your PC and enable:
- Intel VT-x (Intel CPUs)
- AMD-V (AMD CPUs)
You’ll find this in your BIOS/UEFI settings.
Install Guest Additions in Kali Linux
Guest Additions improve integration with the host. Steps:
- In VirtualBox menu: Devices > Insert Guest Additions CD
Open Terminal:
sudo mkdir /media/cdrom
sudo mount /dev/cdrom /media/cdrom
cd /media/cdrom
sudo ./VBoxLinuxAdditions.run
Reboot after installation.
First Boot of Kali Linux in VirtualBox
Once installed or imported:
- Start VM
- Login with:
- Username:
kali - Password:
kali(or whatever you set)
- Username:
Run updates:
sudo apt update && sudo apt upgrade
Update Kali Linux After Installation
Regular updates are crucial:
sudo apt update
sudo apt full-upgrade -y
Reboot when done.
Set Root and User Passwords
If you're using the new Kali setup, set a new root password:
sudo passwd root
Add new users if needed for better control.
Enable Shared Clipboard and Drag-Drop
In VM Settings:
- General > Advanced
- Shared Clipboard: Bidirectional
- Drag’n’Drop: Bidirectional
Enable Shared Folders in Kali Linux VM
- Go to Devices > Shared Folders > Shared Folder Settings
- Add a new folder
- Enable “Auto-mount” and “Make Permanent”
Mount in Kali:
sudo mount -t vboxsf shared_folder_name /mnt
Fix Screen Resolution Issues
If display doesn’t resize:
- Install Guest Additions (as shown above)
- Reboot
- Try switching View > Auto-resize Guest Display
Common Errors and Fixes
- Black screen on boot: Disable 3D Acceleration
Kernel headers missing: Install them:
sudo apt install linux-headers-$(uname -r)
Install Penetration Testing Tools
Kali is modular. Add tools using:
sudo apt install kali-linux-default
Or:
sudo tasksel
Take Snapshots Before Making Changes
Before installing anything risky:
- Go to Machine > Take Snapshot
- Name it and save
You can roll back later.
Export Kali Linux VM
To use your VM on another system:
- File > Export Appliance
- Choose VM, save
.ovafile - Import on another PC
Setup Lab with Multiple VMs
Create clones of your Kali VM or add:
- Metasploitable
- Windows 10 VM
- DVWA (Damn Vulnerable Web App)
Ideal for practicing attacks and defenses.
Secure Kali Linux for Safer Testing
- Disable root SSH login
- Use firewalls like UFW
- Avoid unnecessary services
Always isolate from your main network.
Use VPN or Tor in Kali Linux VM
To hide your IP:
- VPN: Install OpenVPN, ProtonVPN
- Tor: Install and use Tor Browser
Best Practices for Using Kali in VirtualBox
- Keep snapshots of stable states
- Use host-only network for isolation
- Regularly update tools
- Never test on unauthorized systems
Conclusion
Learning how to download Kali Linux for VirtualBox empowers you to create a safe and powerful environment for cybersecurity research, ethical hacking, and penetration testing. This setup is ideal for beginners and advanced users alike, offering flexibility, safety, and convenience. Follow this guide step-by-step, and you'll have a fully functional Kali Linux VM ready in no time.
FAQs
What is the best version of Kali Linux for VirtualBox?
Use the 64-bit prebuilt VirtualBox image from the official site for ease and compatibility.
Can I run Kali Linux without installing VirtualBox?
Yes, but VirtualBox provides a safer, non-destructive method for beginners.
How do I enable full screen in Kali Linux VirtualBox?
Install Guest Additions and enable Auto-resize from the View menu.
Is it safe to use Kali Linux in VirtualBox?
Yes, it's one of the safest ways to learn and practice cybersecurity.
How much RAM does Kali Linux need?
Minimum 2 GB, but 4 GB or more is recommended for optimal performance.
Can I use Kali Linux VirtualBox VM for real penetration testing?
Yes, but only on systems you have explicit permission to test.